What is Cloud Loopback?
In order to caption multiple speakers on a Zoom call, Streamyard or any other platform, you will need to loopback audio from your meeting. This routes the sound into spf.io to generate captions.
Spf.io initially required users to install VB-Cable. While this method has delivered good results, it required a good internet connection. Additionally, if the user’s local internet provider experienced an outage or significant slow down, it could impact the audio quality that was sent to spf.io’s captioner.
To eliminate this risk, Cloud Loopback uses a computer running in the cloud to perform the task. This not only improves availability, but it also improves audio quality. Cloud Loopback is now included in all spf.io plans, allowing you to caption multiple speakers without needing to install any additional software!
In this article, we will describe how to use Cloud Loopback for Zoom.
How to enable cloud loopback
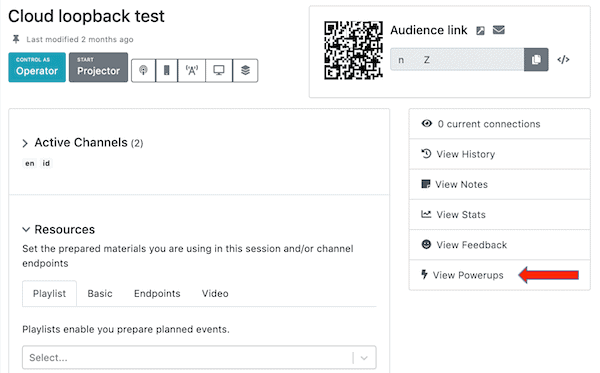
1. Log into spf.io and create a new session.
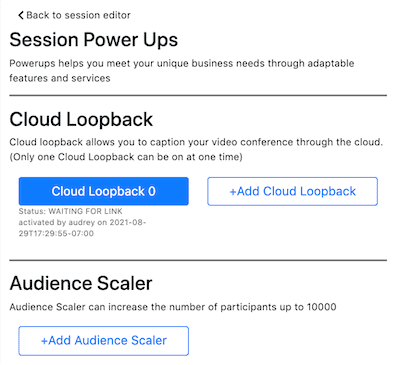
2. Click the “View Powerups” button on the right side of the page.
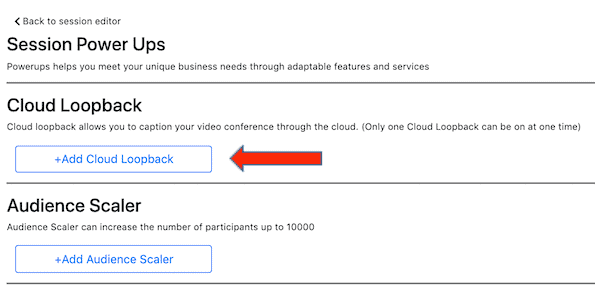
3. Add Cloud Loopback. Note that only one cloud loopback can be on at a time per session.
4. Select a streaming platform and duration. Enter your invite link if you want to do it now. Otherwise, you can do it later by following the next step.
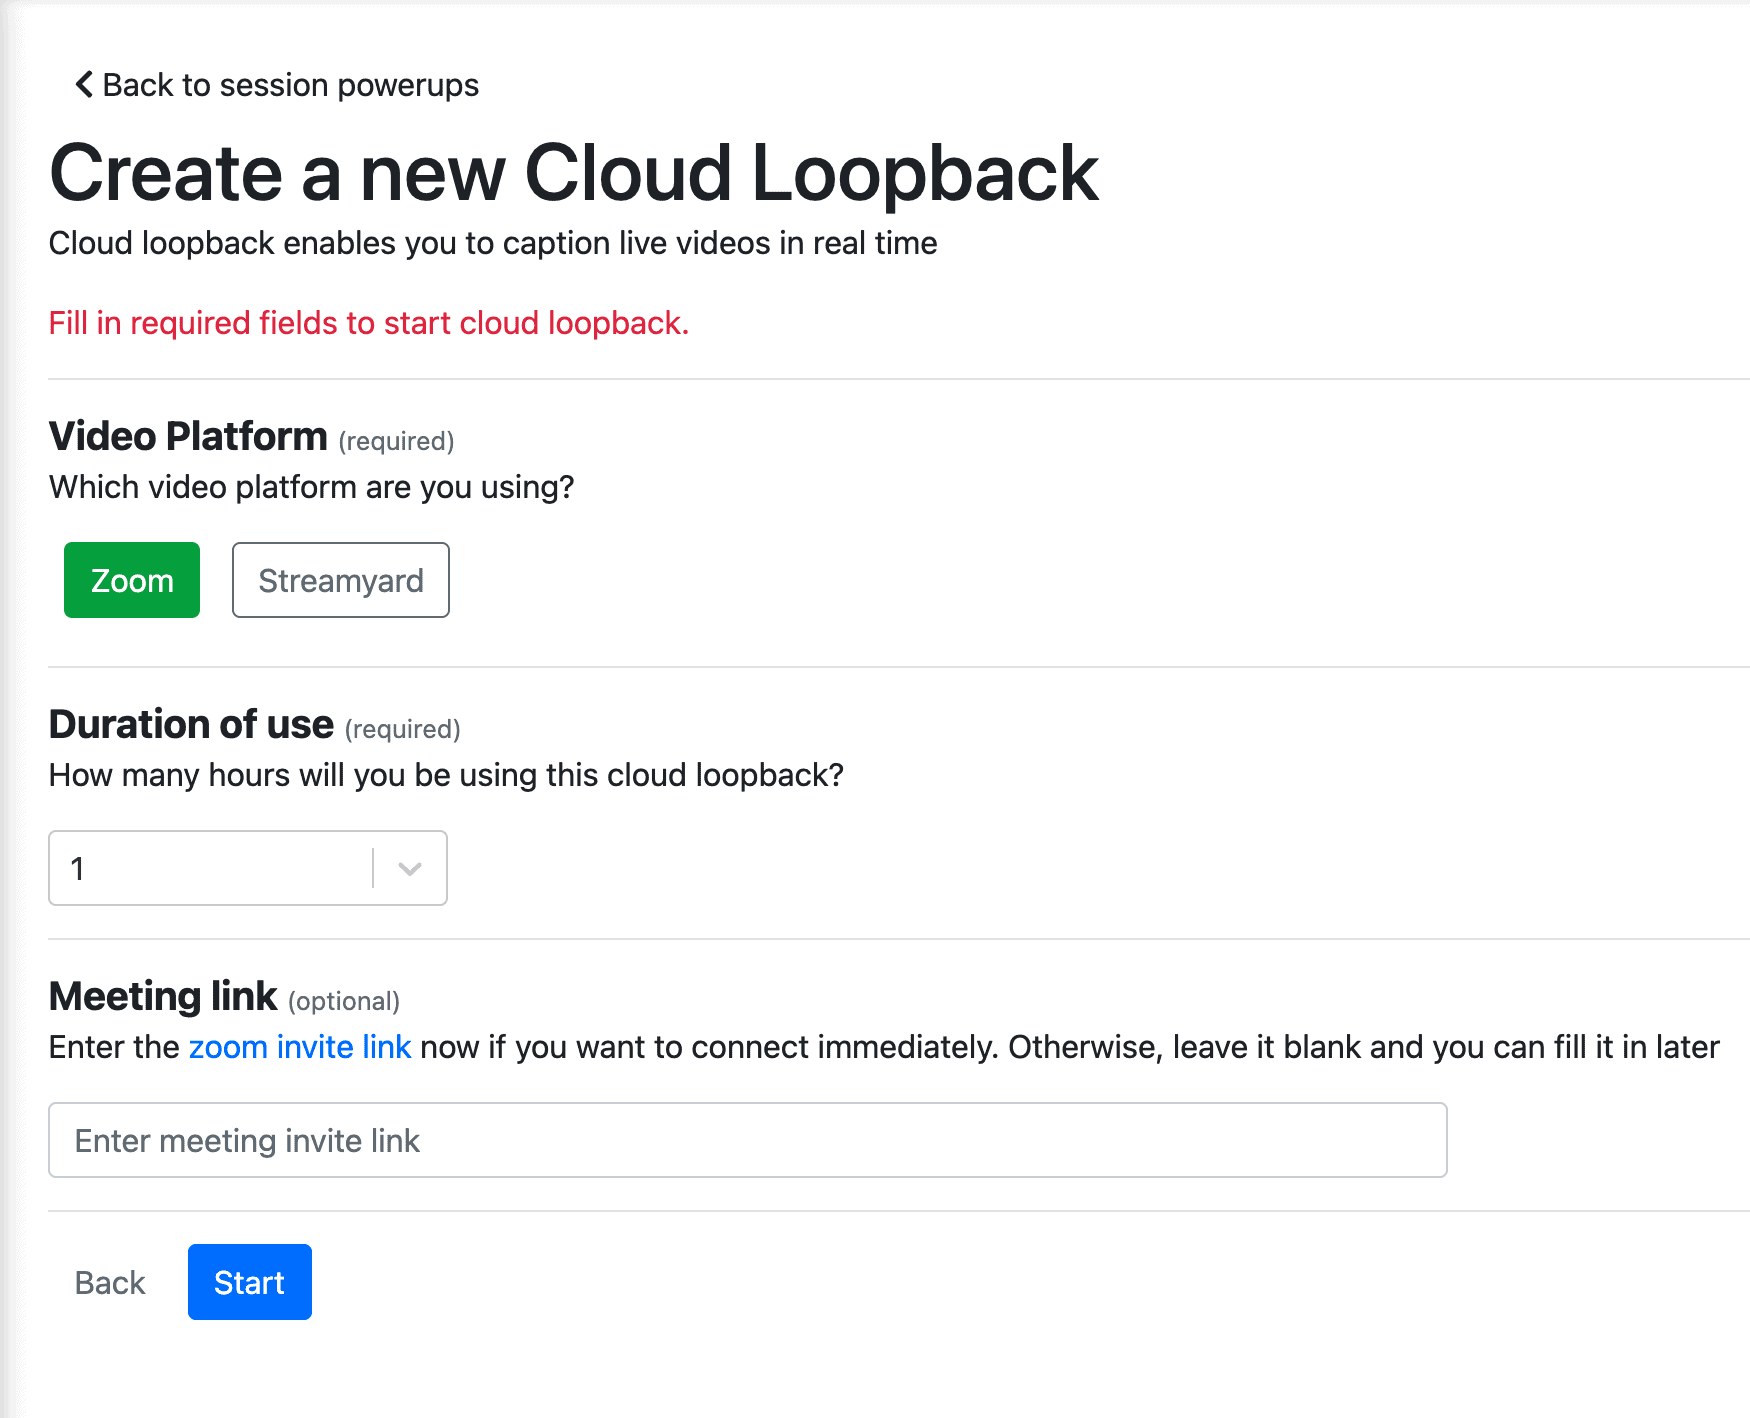
5. Click Start. Wait for around 2 minutes, and you will see a Cloud Loopback 0 button appear. If you entered the link, continue to step 8. Otherwise, Click that button to launch it and follow the next step.
6. Copy and paste the Zoom link invitation. Click Save. Read “How do I get the link to use with Cloud Loopback?” to learn more about how to get the link for Zoom Webinars or meetings that require registration.
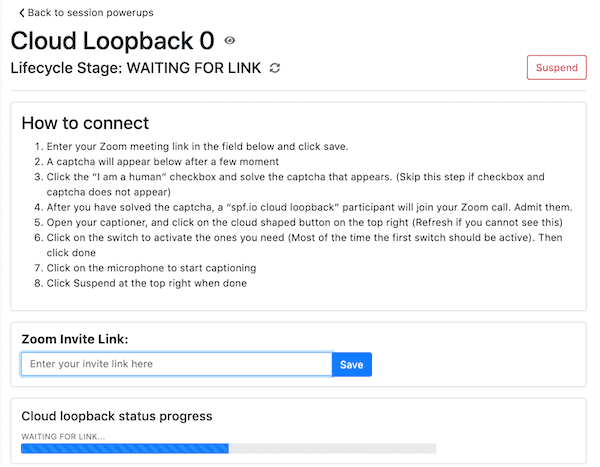
7. Wait until you see the Zoom page appear. If there is a captcha, click “I’m not a robot” and/or solve the captcha. It might take several tries since Zoom detects the request coming from an automated software. Then, wait until a guest named “Spf.io cloud loopback” requests to join your Zoom call. Allow cloud loopback to join by clicking “Admit” if necessary. If you are running a Zoom meeting requiring registration, Spf.io cloud loopback may not appear to explicitly join your call because it may join as a participant instead of panelist.
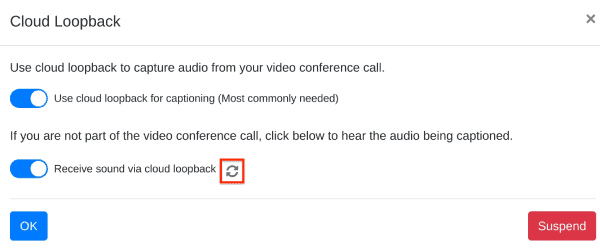
8. Go to your Session, click Control as Operator, and click the Cloud Loopback icon.

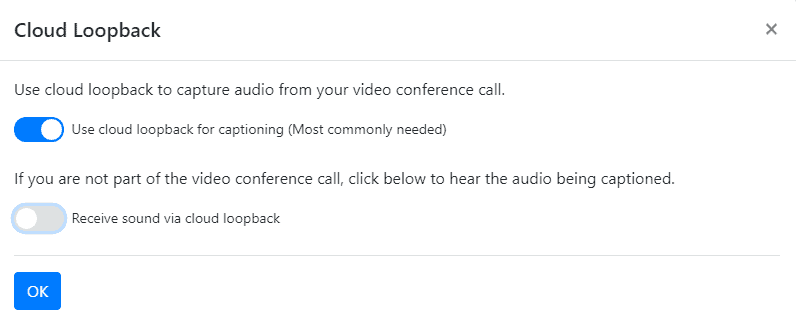
9. Enable Use cloud loopback for captioning.
10. Click the captioner’s microphone. Begin speaking after the microphone turns red. After the speaker finishes their speech, click on the captioner’s microphone again to turn it off.

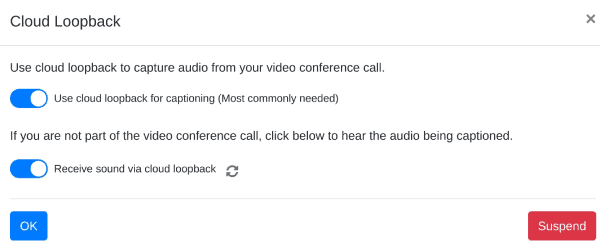
11. To suspend Cloud Loopback, click on the cloud icon again. In the pop-up window, select the “Suspend” button on the bottom right.
Refreshing audio
If for some reason the audio from the Cloud Loopback fails to be streamed to you and your local browser, click on the spinner to the right of “Receive sound via cloud-loopback” to restart the audio stream (the spinner will only be visible if you activate “Receive sound via cloud loopback”).